
If you've sat a mock FRCEM SBA paper and found yourself staring at a chest X-ray stem, unsure whether the answer hinges on the image or the clinical history, you're not alone. Chest X-ray (CXR) interpretation is one of the most consistently tested—and consistently misjudged—skills in the FRCEM SBA exam. Candidates often know the underlying medicine perfectly well but lose marks because they misread the image, miss a subtle finding, or fall for a stem that's deliberately engineered to mislead.
The FRCEM SBA doesn't test you on radiology in isolation. It tests whether you can integrate an X-ray finding with a clinical picture under time pressure while resisting a distractor option that "looks right" at first glance. That distinction is exactly why so many otherwise strong candidates drop marks here.
This guide breaks down the chest X-ray patterns most likely to appear in your exam, the systematic approach examiners expect you to demonstrate, and the specific traps that catch candidates out—so you walk into results day with one less weak spot.
Why Chest X-Ray Questions Matter in the FRCEM SBA
The FRCEM SBA is mapped to the RCEM Speciality Learning Outcomes (SLOs), and chest X-ray interpretation doesn't sit in a single isolated box—it cuts across several of them. You'll meet CXR-based questions embedded within:
SLO 3 (Resuscitation) — recognising tension pneumothorax or massive haemothorax in the peri-arrest patient
Respiratory presentations — pneumonia, effusion, and acute pulmonary oedema questions dressed up as breathlessness or chest pain scenarios
Trauma modules — line and tube positioning, pneumomediastinum, surgical emphysema after chest trauma
There is a range of multiple areas in the curriculum in which the results of the CXR will come up without the examiner alerting you to the fact that they are asking you to interpret a CXR, which allows the examiner to assess your interpretation skills without raising awareness of the CXR in the exam. That is why it's a high-yield area to learn, not just to revise superficially.
A Systematic Approach Examiners Expect
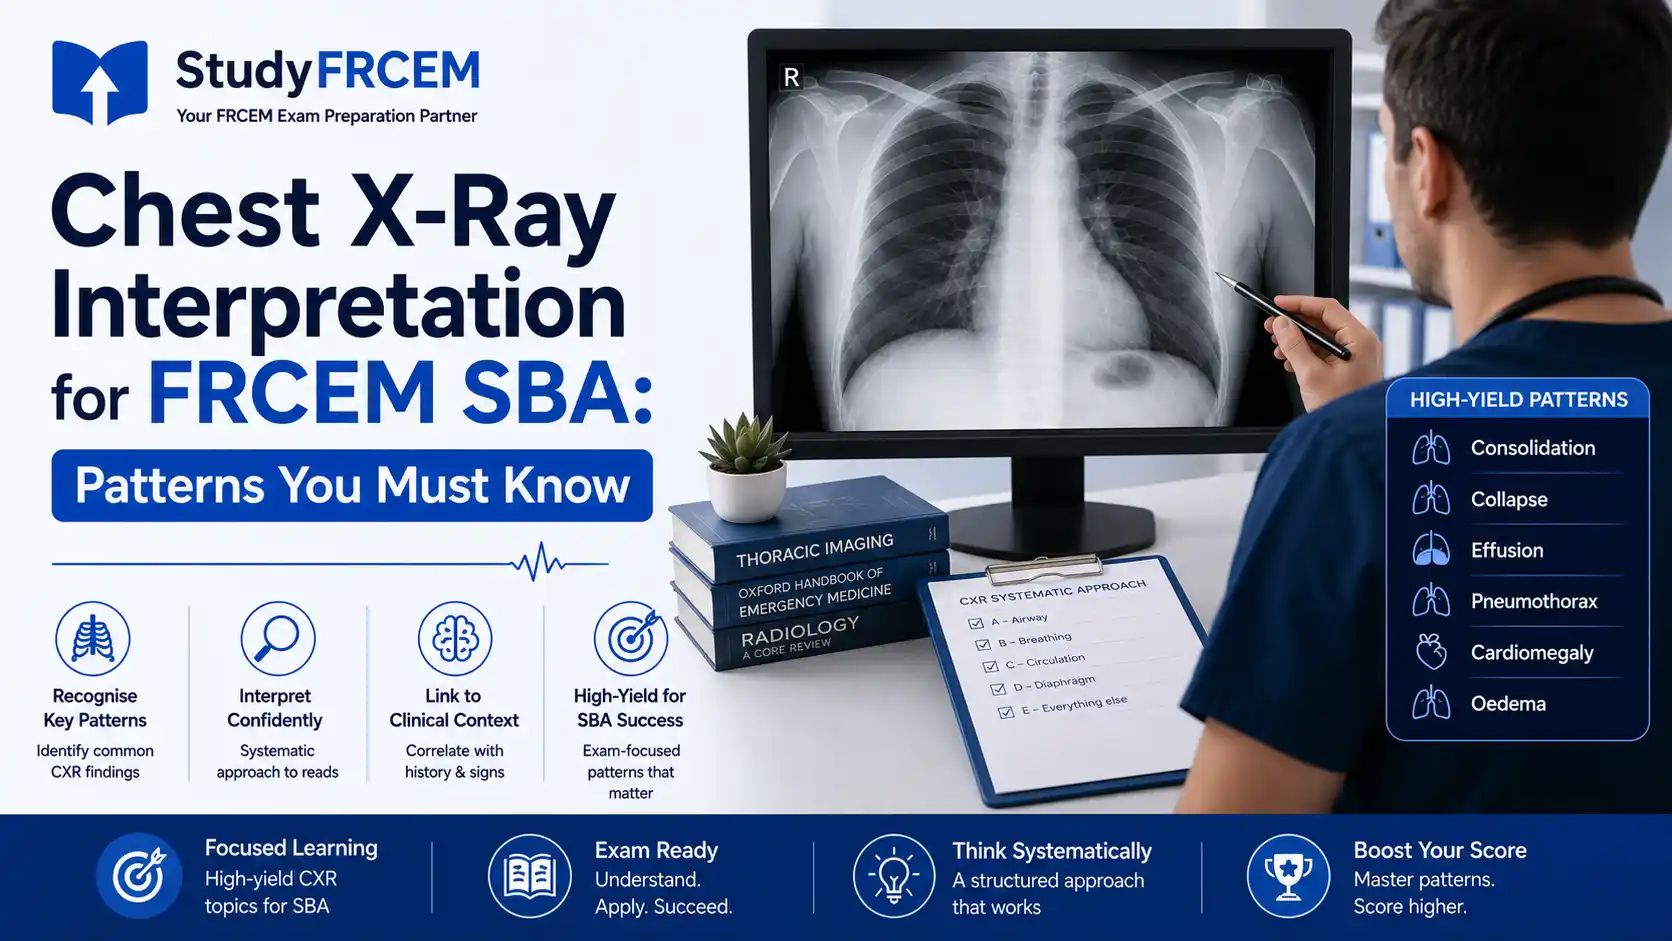
Before diving into individual patterns, it's worth locking in a structured method for reading any CXR under exam conditions. Examiners aren't just checking whether you spot the abnormality — they're checking whether your approach is safe and reproducible, because that's what they expect from you as a working clinician.
A dependable structure to apply every time:
Patient details and technical factors — name, date, projection (AP vs PA), rotation, inspiration, and penetration
Airway — tracheal position, central or deviated
Breathing — lung fields, pleura, and mediastinal contours
Circulation — cardiac silhouette, size, and borders
Diaphragm — contour, free air, costophrenic angles
Everything else — bones, soft tissues, foreign devices, lines and tubes
Running this sequence automatically, rather than jumping straight to "what's the abnormality," is what separates a systematic answer from a guess — and it's often the difference between spotting a subtle second finding buried in a busy stem.
Pattern 1: Pneumothorax
Pneumothorax questions are a perennial FRCEM SBA favorite, largely because there are two very different clinical pictures hiding under one radiological finding.
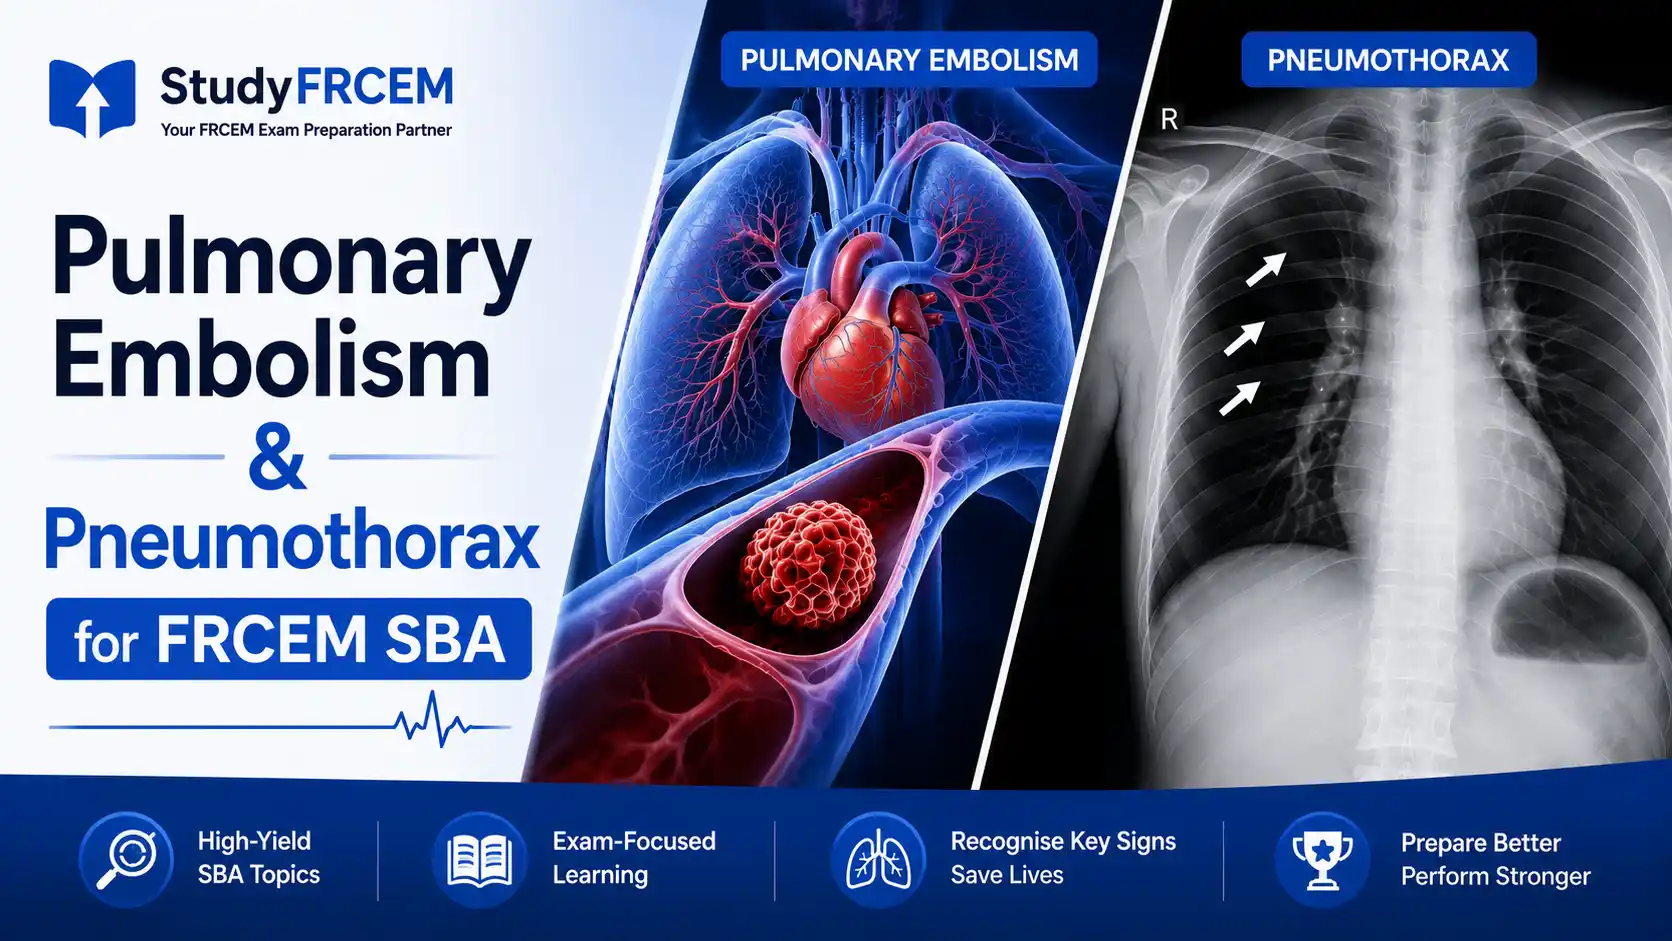
A simple pneumothorax shows a visible pleural line with absent lung markings peripheral to it, typically without mediastinal shift. A tension pneumothorax, by contrast, is a clinical diagnosis first and a radiological one second — in the exam, look for stems describing haemodynamic compromise, tracheal deviation away from the affected side, and a hyperexpanded hemithorax with a flattened diaphragm.
The classic examiner trap: presenting a tension pneumothorax stem with a CXR image option, tempting you to "wait for the film" before acting. In reality, tension pneumothorax should be decompressed clinically, not radiologically confirmed—and SBA writers love testing whether you know that distinction.
Pattern 2: Pleural Effusion
Pleural effusions appear as a homogeneous opacity with a meniscus sign, typically blunting the costophrenic angle, and can obscure the hemidiaphragm on the affected side. Small effusions (under roughly 200-300ml) may not be visible on an erect PA film at all, which is a useful fact for eliminating "definitely excluded" distractor options.
Common exam angles include distinguishing effusion from consolidation (effusion typically lacks air bronchograms and shows a meniscus), and linking the finding back to an underlying cause — heart failure, malignancy, infection, or hypoalbuminaemia — since the SBA frequently asks for the next best step rather than just the diagnosis.
Pattern 3: Consolidation and Pneumonia
Consolidation questions test your grasp of the silhouette sign — where loss of a normally visible border (e.g., the right heart border disappearing) tells you exactly which lobe is affected, even before you consciously "see" the opacity.
Key associations worth memorising for rapid recall under exam pressure:
Right middle lobe consolidation — loss of the right heart border
Lower lobe consolidation — loss of the hemidiaphragm outline
Air bronchograms — a strong indicator of alveolar (not pleural) pathology
Examiners often combine this with a sepsis-flavoured stem, testing whether you connect the radiological pattern to source control and antibiotic timing rather than treating it as an isolated spot-diagnosis question.
Pattern 4: Pulmonary Oedema and Heart Failure
Acute pulmonary oedema questions are a reliable feature of cardiology-crossover stems, and the CXR findings are commonly tested using the mnemonic-friendly cluster of signs:
Alveolar shadowing — classically perihilar "bat wing" pattern
Kerley B lines — septal lines at the lung periphery
Cardiomegaly — cardiothoracic ratio over 50% on a PA film
Diversion — upper lobe venous diversion
Effusions — often bilateral, unlike the typically unilateral effusion of infection
The trap here is subtlety: mild interstitial oedema can look deceptively unremarkable, and candidates who don't actively scan for Kerley B lines or upper lobe diversion can miss an early-stage finding that the stem is quietly building toward.
Pattern 5: Lines, Tubes, and Devices
This is one of the most under-revised areas—and one of the most consistently tested. FRCEM SBA stems frequently show a post-procedure or post-intubation CXR and ask you to confirm correct positioning or identify a misplaced device.
Positions to know cold:
Endotracheal tube — tip 3–5cm above the carina
NG tube — passes below the diaphragm, bisecting the gastric bubble, with no curling in the oesophagus or bronchial tree
Central venous catheter — tip at the cavoatrial junction, roughly at the level of the carina
A misplaced NG tube entering the right main bronchus, or a "high-lying" ET tube tip near the vocal cords, are classic image-based distractors — and this is exactly the kind of "spot the deviation from normal" question that rewards candidates who've deliberately practised device positioning rather than only pathology.
Pattern 6: Pneumomediastinum and Surgical Emphysema
Less frequently tested but consistently high-yield when it appears, pneumomediastinum shows as lucent streaks outlining mediastinal structures, sometimes with the continuous diaphragm sign. Surgical emphysema presents as tracking lucencies within soft tissue planes, often visible around the neck or chest wall on the same film.
Pneumomediastinum appears as lucent streaks around the mediastinal structures and occurs with the continuous diaphragm sign more rarely but consistently when it does. The development of surgical emphysema can be seen as tracking lucencies within the soft tissue planes, which may be noted around the neck/chest wall on the same film.
They are typically found in trauma or post-procedures (after a chest drain has been inserted etc.) and are used to determine whether you can distinguish a self-limiting finding from one that requires urgent intervention, given the clinical context.
Common SBA Traps and How Examiners Test You
Beyond individual pathology, it helps to understand how SBA writers construct chest X-ray distractors, because the pattern repeats across topics:
The "technically correct but clinically wrong" option — an answer that describes the image accurately but isn't the best next action
The premature intervention distractor — an option testing whether you'd act on a clinical diagnosis (like tension pneumothorax) without waiting for imaging you shouldn't be waiting for anyway
The stem-image mismatch — clinical details in the vignette that don't match the "obvious" X-ray finding, forcing you to prioritize history over image
The subtle second finding — a busy film with one prominent abnormality and a smaller, easily missed second pathology that changes the correct answer
Recognizing these patterns in practice questions builds the instinct to slow down on image-based stems rather than pattern-matching too quickly.
How to Practice CXR Interpretation Effectively for the SBA
A knowledge of chest X-ray patterns is a good starting point but repeated exposure to exam-style stems under time pressure is required to achieve a good score in the FRCEM SBA, not passive review. The best preparation is a mixture of:
Exposure to SLO-mapped exam format questions, not individual radiology teaching cases, that are repeated over and over again.
Comprehensive explanations that explain not only why the right answers are correct but also why the distractors are incorrect.
Practice sessions that are timed and pressure-test the same decision-making process you will require on Exam Day.
This is exactly the gap the StudyFRCEM's question bank is built to close—every chest X-ray and respiratory question is written by NHS consultants, mapped directly to current RCEM SLOs, and paired with explanations that walk through the examiner's reasoning, not just the textbook answer.
Conclusion
Chest X-ray interpretation in the FRCEM SBA isn't about becoming a radiologist—it's about reading efficiently, recognizing the patterns examiners return to again and again, and knowing exactly where the distractors are hiding. The majority of what you will encounter will be pneumothorax, effusion, consolidation, pulmonary oedema, device positioning and pneumomediastinum, and you will be covered with a systematic approach that you will be consistent with.
To turn this knowledge into exam-day confidence, the easiest and quickest way is to practice with SBA questions that are consultant-written and SLO-mapped. Put these chest X-ray patterns into practice by testing them out in exam-style stems with detailed explanations in the StudyFRCEM question bank.
Frequently Asked Questions
Do I need formal radiology training to pass the FRCEM SBA chest X-ray questions?
No — the exam tests clinical application of common patterns, not radiologist-level reporting skills. A systematic reading approach and familiarity with high-yield patterns is sufficient.
Which chest X-ray pattern comes up most often in the FRCEM SBA?
Pneumothorax and consolidation are consistently high-frequency topics, though line and tube positioning questions are increasingly common and often underrevised.
Should I memorise a specific mnemonic for reading chest X-rays?
Any consistent systematic method works, as long as you apply it every time—examiners are assessing your process as much as your final answer.
How can I tell if a question is testing the image or the clinical picture?
Read the stem twice before looking at the image description—if the clinical details point to a time-critical diagnosis like tension pneumothorax, the correct action often doesn't depend on the film at all.
Are line and tube positioning questions really worth revising in depth?
Yes — they appear regularly, are easy to overlook in revision, and follow predictable, learnable rules that make them some of the highest-return topics to master.